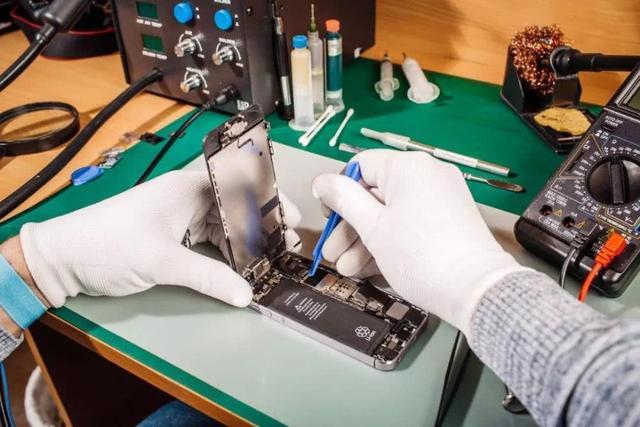
1. What is SMD soldering
SMD soldering is the most popular construction method in advanced PCB manufacturing, it refers to a technique of soldering electronic components to the surface of the circuit board, both surface components and solder can be called SMD. They're more compact since they don't have to go through the board during soldering, which is more complicated. The circuit board is actually multi-layered, with two or more layers of mutual traces and two external surfaces for the pins, and SMD components are soldered on the surface.

2. SMD soldering tools
About SMD soldering you need to know these soldering tools:
Component Placement Tray: Because SMD soldered components are relatively small, a component placement tray will help our components not be lost.
Hot air soldering station: Hot air soldering station is a must for SMD soldering, it is an important tool for desoldering components and circuit boards.
Lighted magnifying glass: Since the components we solder are generally small components that are relatively compact and have circuit boards with complex circuits, a lighted magnifying glass will help improve visualization effect and won’t cause any danage.
SMD Soldering Tweezers: It acts as another hand and helps us hold tiny components while we solder.
3.Which soldering technology is used for SMD components?
Manual soldering techniques is applied to SMD components soldering
Hand soldering, which connects surface mount elements to printed circuit boards (PCB), is the most traditional way to weld SMD components. This is done using a soldering gun. This soldering method is a little easier than using a soldering iron. It uses a hot air station and solder paste instead of soldering iron to install the components in this process.
4. How to solder SMD
a. Clean the PCB and required components before soldering, which will help the soldering to be completed smoothly.
b. Gather all necessary components and tools in the work area. Power on your soldering station or soldering iron and heat to the standard temperature.
c. Add some flux to the PCB package. This helps keep the solder in place.
d. Then add a little solder to the pad.
e. Use tweezers to hold the SMD component and align it with the PCB package
f. Finally push the component lightly onto the pad while heating it with a soldering iron.
g. For ICs and components with more than two to three pins, solder the diagonal pins first, this will help you hold the IC in place
Solder the rest of the pins afterwards.
h. After the soldering is completed, turn off the power and place the soldering iron on the soldering iron stand. Waiting for it to cool down and unplug it.
5. Precautions for soldering SMD
a. Pay attention to the soldering time, generally remove the soldering iron immediately after soldering for about 1 second, and you will see a solder joint
b. Keep the correct soldering temperature, soldering angle and soldering sequence.
c. Do not apply too much pressure to soldering, otherwise the tip of the soldering iron will be damaged and deformed. As long as the tip of the soldering iron is in sufficient contact with the solder joint, heat can be transferred. Choosing different soldering iron tips according to the size of the soldered components can also make a better heat transfer.
d. Use low temperature soldering as much as possible: high temperature soldering will accelerate the oxidation of the soldering iron tip and reduce the service life of the soldering iron tip.
e. Wear gloves when soldering. Do not directly touch the parts of the machine board and SMD with bare hands.
 WhatsApp