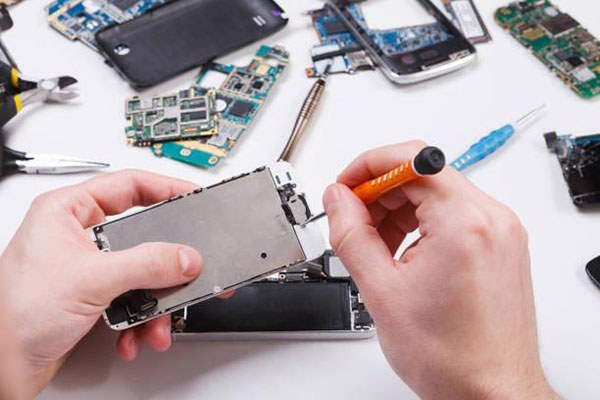
Micro soldering is a valuable skill that can help you to repair and upgrade electronic devices. Whether you’re a professional technician or a beginner, having a comprehensive understanding of the different types of micro soldering and the proper techniques used in this process is essential. This guide provides a comprehensive overview of the basics of micro soldering, including the tools and materials needed, the various types of micro soldering, and the steps involved in the process.

Micro soldering is a specialized form of soldering that uses very small soldering tips and very low temperatures to join components together. It’s used for a variety of electronics repair and upgrade projects and is particularly useful for creating small, intricate connections.
In order to get started with micro soldering, you will need a few basic tools and materials. You should have a soldering iron or station (AiXun T3b e.g.), a soldering tip, solder, flux (AiXun solder flux lead free), and a desoldering tool. You will also need a few other tools, such as tweezers, a magnifying glass, a heat gun, and a multimeter.
There are several types of micro soldering, each with its own advantages and disadvantages. The three main types are hot air soldering, reflow soldering, and hand soldering.
Hot air soldering is a process that uses heated air to melt and join components together. It is a relatively quick process and is often used for large components.
Reflow soldering is a process that uses a heated plate to melt and join components together. It is more precise than hot air soldering and is often used for smaller components.
Finally, hand soldering is a process that uses a soldering iron to manually join components together. It is a slow process, but it produces very reliable connections.
Micro soldering is a complex process that requires a great deal of precision and care. The steps involved in the process include:
1. Preparing the components – Before you start soldering, you need to prepare the components you are working with. This includes cleaning them, removing any corrosion, and making sure they fit together properly.
2. Applying flux – Flux is a chemical that helps to protect the components from corrosion and helps the solder to adhere properly.
3. Heating the components – You need to heat the components in order to melt the solder. This can be done using a soldering iron, a reflow oven, or a hot air gun.
4. Applying the solder – Once the components are heated, you need to apply the solder to the connection points. Make sure to use the proper technique to ensure a strong connection.
5. Cleaning and inspecting – After soldering, you need to clean and inspect the connection to make sure it is secure.
Micro soldering is a difficult skill to master, but it is an essential skill for anyone working with electronics. With the right tools and materials, and a comprehensive understanding of the process, anyone can learn the basics of micro soldering.
 WhatsApp