
Modern printed circuit boards (PCB) are the lifeblood of today's technology. It's nearly impossible to find electronics without some form of PCB. While a professional PCB manufacturer is required to produce high quality printed circuit boards, you can create your own homemade PCB (DIY PCB)
Printed circuit boards became popular in the second half of the 20th century. Before this, manufacturers directly connected components of appliances through wires. Therefore, it is disorganized. The birth of PCB is to solve this problem.
Essentially, PCB is a set of embedded wires threaded through flat pieces of fiberglass. To understand how they work, you need to understand how manufacturers create them.
During the manufacturing process, manufacturers stack fiberglass sheets together and treat them with chemical resins. The resin will hold them together.
Next, the fabricator will apply a layer of copper to both sides of the fiberglass board. Then, they will apply photoresist. The manufacturer will then etch a PCB layout pattern that matches the traces on the board. Afterwards, they use UV light to harden and dry the board.
In many electronic publications, you can often see articles about self-made PCB experience. Now I will share with you an ancient and traditional PCB manufacturing method-corrosion method. Let's study together.
The advantages of this method are low cost and short time. The disadvantages are also more obvious. The production of double-layer boards is more troublesome and not environmentally friendly.
Let's get started!
How to make your circuit board at home
First, draw the circuit board
1. Draw the PCB circuit board
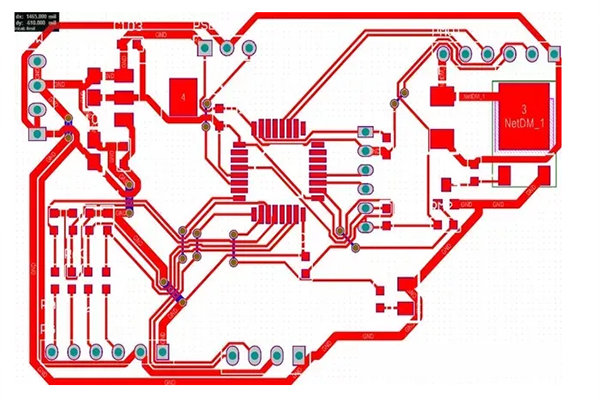
2. Set to print only TOP_LAYER and via layer
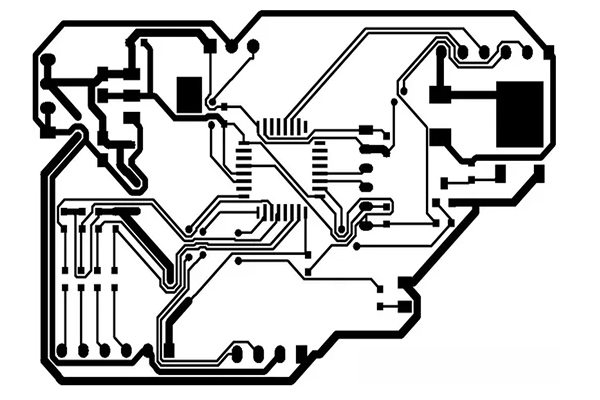
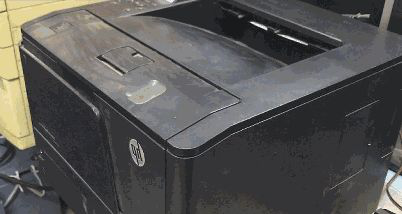
3. Use a laser printer to print on thermal transfer paper
4. The thinnest circuit set on this circuit board is 10mil
Second, transfer printed circuit board
1. Print the black and white diagram of the electronic circuit on the thermal transfer paper from the laser printer, it is better to use oiled paper here.
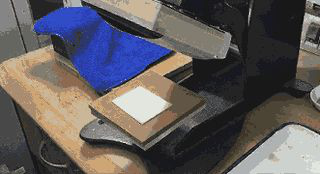
2. For single-sided circuit boards, only one sheet is enough. Then attach it to a copper clad board of appropriate size, and heat and press the heat transfer machine, and the heat transfer can be completed in 20 seconds. Take out the copper clad board, peel off the thermal transfer paper, and you can see the clear circuit diagram on the copper clad board.
Third, corrode the circuit board
1.Put the copper clad laminate in the oscillating corrosion tank, and use the mixed corrosion solution of hydrochloric acid and hydrogen peroxide to remove the excess copper layer in only 15 seconds. (This can be replaced by a water basin, and then shaken by hand. The water temperature can be higher to allow it to corrode quickly). Students with enough budget can also directly buy a corroded device online.
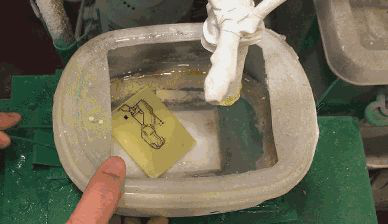
Proper ratio of hydrochloric acid and hydrogen peroxide, and high-speed oscillating corrosion tank are the key to achieve fast and perfect corrosion. After rinsing with water, the corroded circuit board can be taken out.
If the cost is not enough, you can buy a small pot and pour a little corrosive agent
Do not touch the high-concentration corrosive solution recklessly. Otherwise, the pain gained will be remembered for a lifetime. Be careful when shaking. In addition, the corroded waste water should not be dumped casually, but must be disposed of properly.
2. Then use acetone or steel wool to wipe off the black toner, so that an experimental PCB board is completed.
sometimes need to punch
Fourth , soldering circuit board
1. Apply flux on the surface of the circuit board
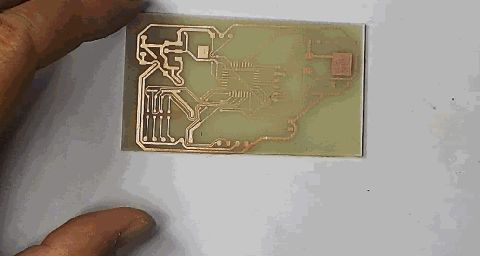
2.Use a wide-blade soldering iron to tin the circuit board to facilitate subsequent soldering
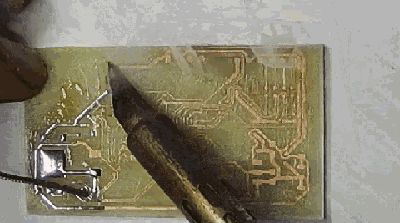
3. Remove the flux and complete the soldering of the device

4. Due to the pre-coated solder, it is easier to solder the device

5. After soldering, use board washing water to clean the circuit board
6. circuit board under test
test circuit board
Complete circuit debugging
The above is just a way that simple PCB boards can be made by hand. If you have any ideas or suggestions, please contact AiXun. Check out more PCB soldering tools on aixuntech.com
 WhatsApp