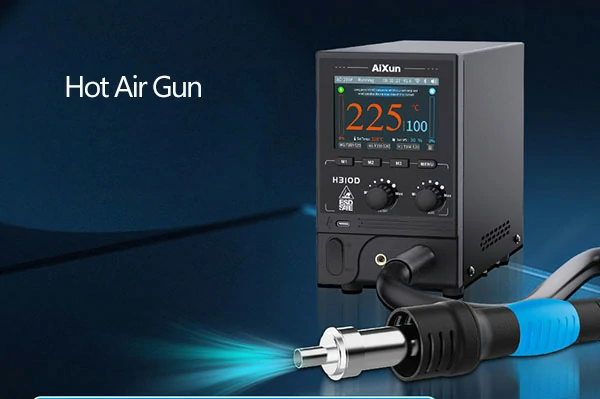
In the previous, we have learn how to use hot air gun to solder and remove components, now let discuss the hot air gun soldering and disassembly methods and techniques

Small components in LCD circuits are mainly resistors, capacitors, inductors, transistors, etc. In particular, most of the components on the driver board are mounted using SMD, which generally require the use of a hot air gun for disassembly and soldering. When dismantling and soldering, be aware of the wind strength, speed and direction. Incorrect handling will not only blow away the components, but will also cause a "catastrophe in the fishpond", and the surrounding small components will also be blown away. .
① Use a small brush to clean the impurities around the small components, and add a little rosin water to the small components.
②Install the fine-nozzle of the hot air gun, turn on the power switch, set the temperature switch to 2 to 3 levels and the wind speed switch to 1 to 2 levels.
③Hold the component with finger pliers in one hand, and hold the handle of the hot air gun steadily with the other hand, keeping the nozzle perpendicular to the component to be disassembled at a distance of 2 to 3 cm, and heating evenly. The nozzle must not touch the component. When the solder around the component has melted, use finger pliers to remove the component.
① Use finger pliers to hold the small components to be soldered and place them in the soldering position. Be careful not to deviate from the soldering point. If there is insufficient solder on the solder joint, you can use a soldering iron to add a little solder to the solder joint.
② Turn on the power switch of the hot air gun, adjust the temperature switch of the hot air gun to gears 2 to 3, and the wind speed switch to gears 1 to 2. Keep the nozzle of the hot air gun perpendicular to the components to be soldered, with a distance of 2 to 3cm, and heat them evenly. After the solder around the components has melted, remove the hot air gun nozzle.
③ Remove the pliers when the solder has cooled. Use absolute alcohol to clean the rosin around the components.
Compared to some small components in LCD displays, chip integrated circuits are relatively large in size, so the wind speed and temperature of the heat gun can be set higher when disassembling and soldering.
Carefully observe the position and orientation of the IC to be disassembled, and make a record for recovery during soldering.
② Use a small brush to clean the dirt around the IC and add a little colophony water around the pins of the IC.
Adjust the temperature and air speed of the hot air gun. The temperature switch is generally set at 3-5 levels and the wind speed switch is set at 2-3 levels.
When disassembling with a single nozzle, make sure to keep the nozzle perpendicular to the disassembled IC and rotate it slowly along the pins around the IC to heat it evenly. The nozzle should not touch the IC or surrounding peripheral components. The position of the blow should be accurate. Do not blow away the small peripheral components around the integrated circuit.
⑤ After all of the integrated circuit's pin solder has melted, use a medical needle or finger pliers to lift or pinch the integrated circuit. Do not use force, as the integrated circuit's tin foil is easily damaged.
Use a flat-head soldering iron to smooth the solder joints. If necessary, tinker the solder joints with less solder. Then clean the area around the solder joints with alcohol.
Align the solder pads of the replaced IC and the PCB and adjust them several times until they are completely aligned.
Solder the four corner pins of the IC with a soldering iron to fix the IC, and then solder the surrounding areas with a hot air gun. After soldering, make sure the IC is cooled and do not move it immediately to prevent it from moving.
After cooling, check that the pins of the IC are soldered. If so, use a pointed soldering iron to repair the soldering until everything is normal. Use absolute alcohol to clean the rosin around the IC.
 WhatsApp