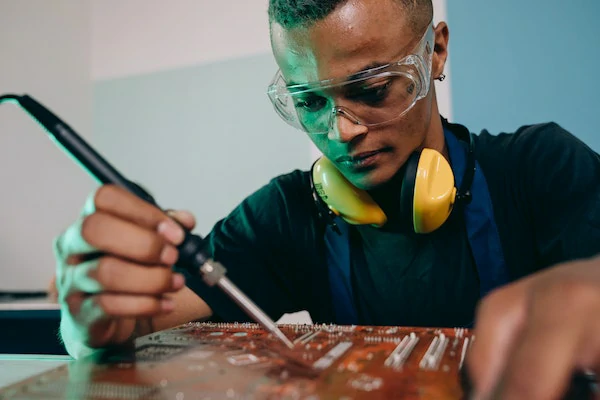
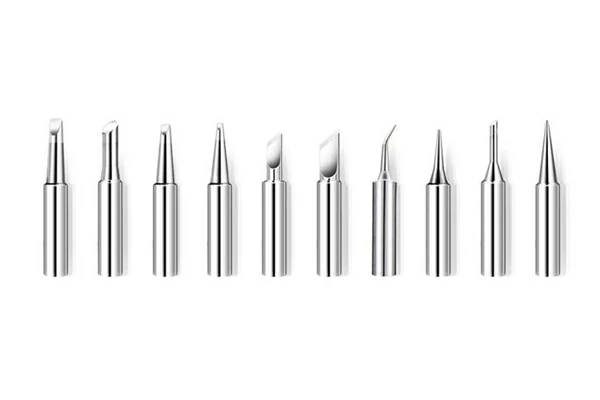
Soldering is a common technique used in electronics for joining components together. The soldering iron tips, a crucial part of the soldering iron, is responsible for transferring heat to the solder and components. Over time, soldering tips may wear out or become damaged, necessitating replacement. In this article, we will provide a step-by-step guide on how to replace the tip on a soldering station, ensuring that you can continue with precise and reliable soldering.

Tools and Materials:
- New soldering iron tip
- Soldering station
- Safety glasses
- Heat-resistant gloves (optional)
- Pliers or tip wrench (if required)
-
Instructions:
- Safety First: Ensure the soldering station is turned off and unplugged. Allow the soldering iron to cool completely before proceeding.
- Remove the Existing Tip:
- For stations with screw-on tips: Use pliers or a tip wrench to loosen the screw holding the tip in place. Gently pull the tip straight out.
- For stations with press-fit tips: Locate the release button or mechanism on the soldering iron handle. Press the button and pull the tip straight out.
- Clean the Heating Element: Use a damp sponge or cloth to remove any residue or debris from the heating element where the tip was inserted.
- Insert the New Tip:
- For screw-on tips: Align the new tip with the heating element and tighten the screw securely using pliers or a tip wrench.
- For press-fit tips: Align the new tip with the heating element and push it firmly into place until it clicks or locks.
- Tin the New Tip: Apply a small amount of solder to the new tip and heat it until the solder melts and forms a smooth, even coating. This process helps prevent oxidation and ensures optimal heat transfer.
- Test the New Tip: Turn on the soldering station and adjust the temperature to the desired setting. Test the new tip on a scrap piece of material to ensure it heats up properly and melts solder smoothly.
Additional Tips:
- Wear safety glasses and heat-resistant gloves to protect yourself from burns.
- Use the correct type of soldering iron tip for the task at hand. Different tip shapes and sizes are designed for specific applications.
- Avoid overtightening the screw when installing a screw-on tip.
- If you encounter any difficulties, consult the user manual for your specific soldering station model.
Safety Precautions:
- Always unplug the soldering station before replacing the tip.
- Allow the soldering iron to cool completely before handling it.
- Never touch the hot soldering iron tip or molten solder.
- Use a heat-resistant surface for soldering and keep flammable materials away from the work area.
- Dispose of used soldering tips properly.

By following these steps and safety precautions, you can safely and effectively replace the soldering iron tip on your soldering station. Remember, proper maintenance and care of your soldering equipment will ensure its longevity and optimal performance.


 WhatsApp