
In today's electronics-infested society, while you can learn and build electronics without picking up a soldering iron, you'll soon discover that a whole new world opens up with this simple skill. Soldering is the only permanent way to "fix" components to a circuit. What do you do when you want to solder a component on a circuit board? Whether you're a hobbyist or an aspiring electronics enthusiast, learning how to solder a PCB board is essential. This step-by-step guide will walk you through the soldering process, ensuring successful and sturdy connections:
Step 1: Gather the necessary tools and materials
Before starting, make sure you have all the tools and materials required for soldering:
Soldering Station (AiXun offer a wide range selection)
Solder wire (preferably rosin-core solder)
Soldering Flux (liquid or flux-core solder wire)
PCB board
Components to be soldered
Isopropyl alcohol or PCB cleaner
Solder wick or desoldering pump (for solder removal if needed)

Step 2: Prepare the workspace
Find a clean and well-ventilated area with good lighting to set up your soldering station. Ensure your soldering iron is properly heated and ready for use.
Step 3: Clean the PCB and components
Use isopropyl alcohol or a PCB cleaner along with a clean cloth or brush to remove any dirt, grease, or oxidation from the PCB and the leads of the components. This step promotes better soldering connections.
Step 4: Apply flux
Apply a small amount of flux to the areas where you'll be soldering. Flux helps remove oxidation and enhances the flow of solder, resulting in better adhesion.

Step 5: Tin the soldering iron tip
Melt a small amount of solder onto the tip of the soldering iron. This process, known as tinning, ensures efficient heat transfer during soldering.
Step 6: Place and hold the components
Position the components on the PCB in their designated places. Hold the component leads in place, ensuring they align with the corresponding pads on the PCB.
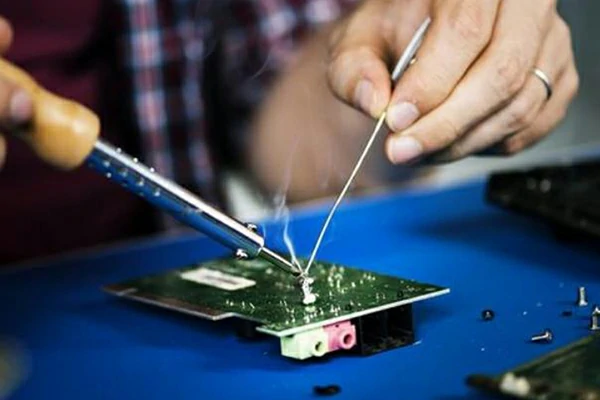
Step 7: Solder the components
Touch the tip of the soldering iron to both the component lead and the PCB pad simultaneously.
Allow them to heat up for a few seconds until the solder melts.
Touch the solder wire to the heated joint, not to the soldering iron.
Let the solder flow into the joint, creating a solid connection.
Ensure the joint is adequately filled but not overfilled with solder.
Remove the solder wire first, then the soldering iron, while holding the joint steady until the solder solidifies.
Step 8: Inspect and clean each solder joint
Visually inspect each solder joint to ensure it is properly formed without any defects like solder bridges or cold joints. Use a solder wick or desoldering pump to correct any mistakes or remove excess solder. Clean the PCB if any flux residue remains, using isopropyl alcohol or a PCB cleaner.
Step 9: Repeat the soldering process
Continue soldering the remaining components, following the same steps until all necessary connections are made.
Step 10: Test and troubleshoot
After soldering, use a multimeter or appropriate testing equipment to check for continuity and proper electrical connections. Troubleshoot and fix any problematic joints by reworking or resoldering them if necessary.
Soldering a PCB board is a valuable skill for anyone interested in electronics. By following this step-by-step guide, you can confidently solder components onto a PCB, creating strong and reliable connections. Remember to practice and take necessary safety precautions during the soldering process. With time and experience, your soldering skills will improve, opening up exciting possibilities in the world of electronics.
 WhatsApp