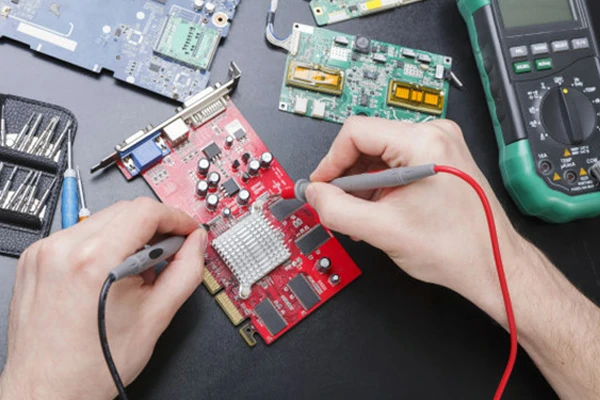
In electronics manufacturing, the connections between components must be soldered. Commonly used soldering methods for electronic components include manual soldering and automated soldering. The quality of the soldering has a great impact on the quality of the production. When soldering small components with an electric soldering iron, choose a suitable solder and use low melting point soldering wire for soldering electronic components. In this article, lets discuss how to solder small components.

The soldering iron must be tin-plated before use. The specific method is to heat the soldering iron. When the solder has just melted, apply flux and then apply the solder evenly to the tip of the soldering iron so that the tip is evenly coated with tin.
Due to their small size, micro components can easily cause lead adhesion during soldering. There are some precautions to be taken when soldering:
Firstly, you need a good soldering iron with a constant temperature. The tip of the soldering iron should be tapered. The material should not be ordinary copper, which does not oxidize easily. You should use a thin soldering wire with rosin in it. Use a scraper to remove the oxide layer from the surface of the wire. If the outer sheath is stripped and the surface of the core wire is very bright, you can tin it directly. The wire must be copper or silver plated. Some wires are not suitable for soldering. Without tin, such wires will definitely not solder well.
1. Component leads must be reliably tinned.
2. Use a conical soldering iron tip, which should be as sharp as possible. The soldering iron head is slender and is most suitable for soldering precision circuit boards.
3. Use a desk lamp with a magnifying glass.
4. Temperature is very important. If the temperature is high, it will oxidize quickly and it is not good to eat tin. If the temperature is low, it will be difficult to melt.
5. If the solder joints are already tinned and the wire ends are tinned, do not use solder wire.
6. Place the component on the table, holding the soldering iron in one hand and the soldering wire in the other. The soldering iron will first preheat the soldering point and then insert the soldering wire. After 1 or 2 seconds, take it away together. At this time, the soldering piece cannot be shaken.
The order of soldering components must be: first difficult, then easy, first low, then high, first patch, then insert. Purpose: Comfortable soldering and time saving. Solder the difficult ones first, which mainly refers to patch-type integrated chips with dense pins. If these difficult tasks are placed at the end of the soldering process, once the soldering fails and the pad is damaged, all previous efforts will be wasted. First low and then high, first chip placement and then insertion. This makes soldering easier. Soldering the tall components first can interfere with the soldering of other components, especially if there are many tall components. If the inserted components are soldered first, the board will be uneven on the soldering table, affecting the overall soldering.
The above is the content related to the soldering of electronic components compiled by AiXun. I hope it is helpful to you.
 WhatsApp