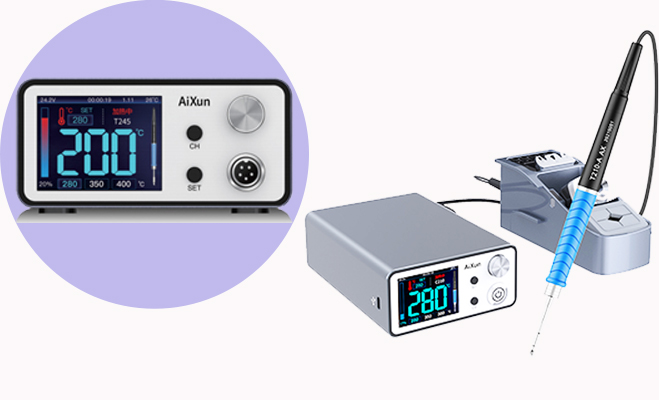
Are you interested in the idea of safe, reliable, affordable, and versatile soldering for repairing electronics projects? Do you find it frustrating when soldering leads to melted insulation and damaged components? Don't worry, because a smart soldering station can make even a beginner competent in soldering, and hobbyists can excel in various small soldering tasks.
A soldering station may sound like a complex and expensive welding tool, but it's actually more accessible than you might think. It's a safe and convenient tool that doesn't cost much in the market. However, there are some important details to keep in mind when using it, especially if you're new to soldering. For instance, the soldering iron tip may overheat initially but quickly lose temperature and effectiveness. This can result in imperfect soldering or difficulties when working on larger assemblies.

Here's a step-by-step guide on using a soldering station:
1. Set up your soldering station
Clean and prepare your work area, gather the necessary components, have a wet sponge handy, insert the equipment, and wear safety glasses.
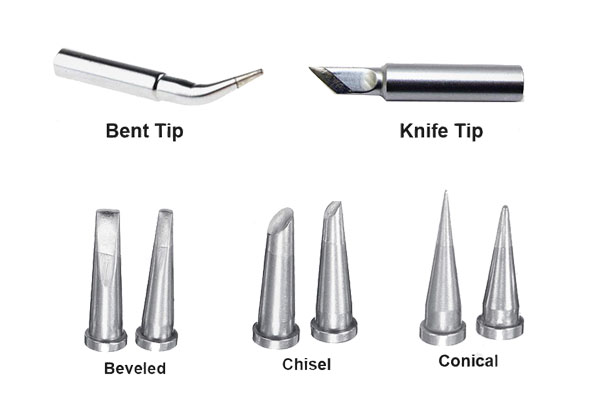
2. Choose the right soldering iron tip
Most soldering stations offer interchangeable tips. Select a tip that is wide enough to cover the joint's width but not too wide to avoid heating the wrong areas. A small round tip is suitable for general use. Attach and secure it to the handheld iron.

3. Select the appropriate temperature
The temperature should be hot enough to heat the workpiece quickly, usually within a second, so that it can melt the solder onto itself. However, it shouldn't be too hot to avoid damaging delicate components or too cold to prolong the soldering process. The recommended starting points are 600°F for surface mount components, 700°F for small components and thin wires, and around 800°F for large components and light wire sizes.

4. "Tin" the tip before starting
Apply a small amount of fresh solder to the tip periodically, especially if you notice a decrease in effectiveness. This helps coat the tip with fresh, soft, silver metal. Wipe off any excess solder on a damp sponge. Before soldering each joint, touch the iron with a little solder to create a wider and softer contact that transfers heat to the joint. The goal is not to add excessive solder to the joint, as it may result in unreliable connections.
5. Finishing the soldering
Place the soldering iron on the stand, allow it to cool down, and then close the soldering station. This signifies the completion of your soldering work.
Remember, choosing a reliable soldering station is crucial for efficient and effective work. Click and view more soldering tools offered by AiXun.
 WhatsApp