In the world of electronics, repairs and modifications often require delicate work, especially when it comes to surface-mounted components. One invaluable tool that every electronics enthusiast or professional should have in their arsenal is a hot air rework station. This versatile device allows for the precise application of heated air, making it easier to remove and reflow components without damaging the surrounding circuitry. In this article, we will explore the step-by-step process of effectively using a hot air rework station.

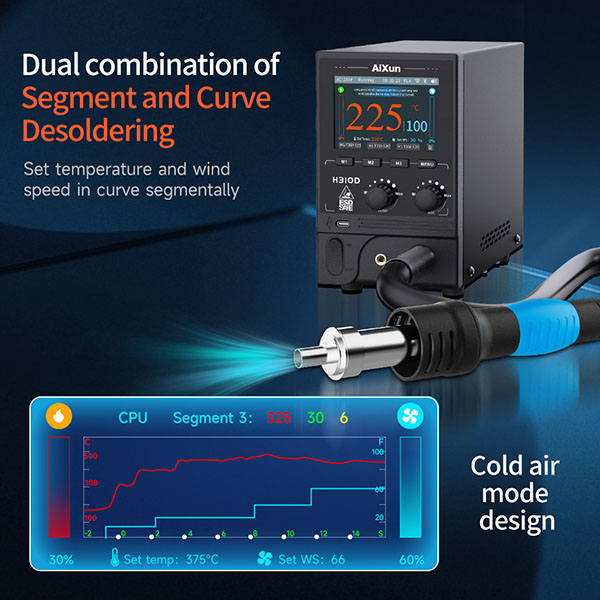
Before diving into the usage instructions, it's crucial to familiarize yourself with the key components of a hot air rework station. Typically, it consists of three main elements:
Hot Air Gun: The hot air gun is the primary tool used for heating components. It features a nozzle that emits a controlled stream of heated air. Temperature and airflow can usually be adjusted to suit different requirements.
Power Unit: The power unit supplies the hot air gun with power and controls the temperature and airflow settings. It often includes digital displays, buttons, and knobs for adjusting the parameters.
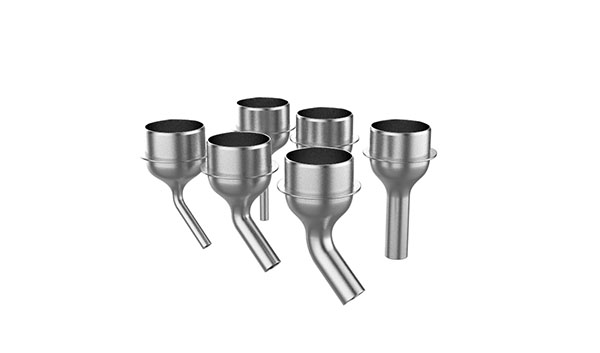
Nozzle Attachments: Different nozzle attachments are available for various tasks. They come in various sizes and shapes, allowing you to concentrate the airflow on specific components or areas.

Before using the hot air rework station, ensure you have a clear workspace and all the necessary tools and components. Here's a list of items you'll likely need:
Hot air rework station with power unit and hot air gun
Nozzle attachment suitable for the task
Soldering iron (if needed)
Flux or soldering paste (if needed)
Desoldering braid or vacuum pump (if desoldering)
Heat-resistant mat or PCB holder
Safety goggles and ESD protection (optional but recommended)
Connect the power unit to a stable power source.
Attach the desired nozzle to the hot air gun, ensuring it fits securely.
Set the desired temperature and airflow settings on the power unit. Refer to the component datasheet or the manufacturer's guidelines for recommended values.
Identify the component you wish to remove. Be sure to understand its placement and surrounding circuitry.
Preheat the hot air gun by switching it on and allowing it to reach the desired temperature.
Hold the hot air gun at a suitable distance (typically 1-3 cm) from the component and apply hot air evenly, moving the nozzle in a circular motion. Ensure the entire component is heated uniformly.
Once the solder beneath the component melts, use tweezers or a suitable tool to gently lift and remove the component. Be cautious not to damage the surrounding components or the PCB.
Apply flux or soldering paste to the pads on the PCB if required.
Place the new component on the prepared pads, aligning it correctly.
Preheat the hot air gun and position it over the component, applying hot air evenly to reflow the solder.
Monitor the process closely, ensuring the component settles into place and the solder reflows properly.
Allow the PCB to cool naturally before proceeding further.
Switch off the hot air rework station and disconnect the power unit.
Clean the nozzle attachment and hot air gun, removing any residual flux or debris.
Store the hot air rework station in a safe and dry location.
With practice, patience.
The China leader in lead-free soldering and desoldering products, AiXun is an R&D driven company. The brand manufactures the finest precision soldering, desoldering and SMT rework equipment featuring superior quality. The products tend to have high soldering capability at lower temperatures, a greater heat transfer, and extended tip life. Welcome distributors to inquiry.
 WhatsApp